The lab dip process in textile dyeing, step by step
A lab dip is a small trial dyeing that proves a recipe before bulk. You dye swatches of the real fabric, compare them with the standard under agreed lights, correct and submit.
On this page
- Why dye houses lab dip
- Step 1: Understand the standard
- Step 2: Choose the first recipe
- Step 3: Prepare stock solutions and weigh the swatches
- Step 4: Dye under controlled conditions
- Step 5: Evaluate the dip
- Step 6: Correct and repeat
- Step 7: Submit and approve
- Step 8: From lab to bulk
- What to record for every dip
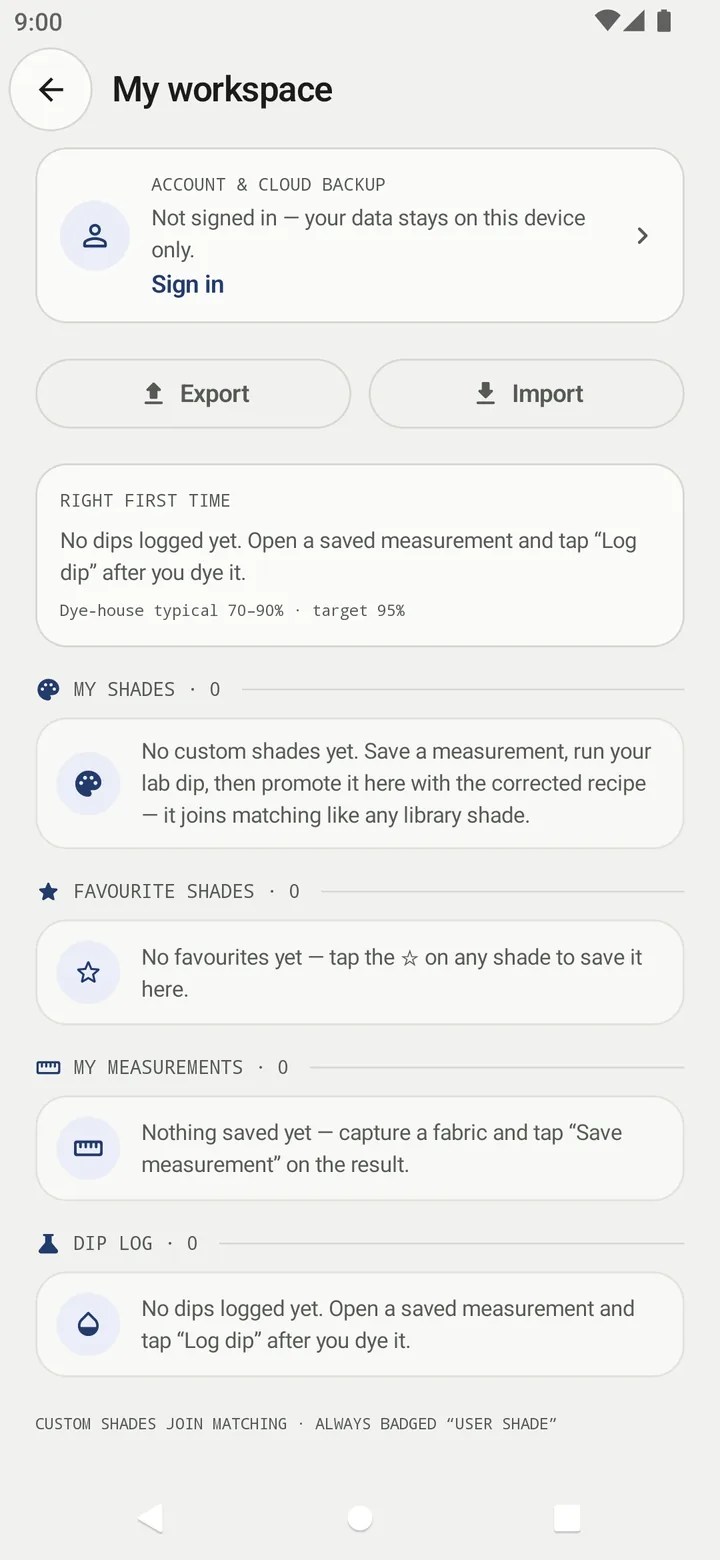
- Right first time
- Where Shadecard fits
A lab dip is a small trial dyeing that proves a recipe before any bulk fabric is dyed. The lab dyes a few grams of the actual fabric with a first recipe, compares the result with the buyer's colour standard under agreed lights, corrects the recipe, and repeats until the dip is approved. The approved dip then becomes the reference for production.
Why dye houses lab dip
A bulk batch can be hundreds of kilograms of fabric. Dyeing it wrong costs dye, chemicals, water, energy, machine time and often the fabric's quality, because every corrective re-dye or top-up affects levelness and fastness. A lab dip costs a few grams of fabric and an hour or two. It also gives the buyer something physical to approve.
Step 1: Understand the standard
Before dyeing anything, collect:
- The target – a physical swatch, a colour code from a colour system, or measured values from the buyer.
- The fabric – the actual quality to be dyed, with its preparation (scoured, bleached, mercerised). The base fabric changes the final shade as much as the dye does.
- The tolerance – how close is close enough, and by which formula (for example CMC(2:1) or ΔE2000).
- The lights – the illuminants the buyer will judge under.
- Fastness requirements – they decide which dyes you are allowed to use.
Step 2: Choose the first recipe
The first recipe comes from experience, the lab's recipe records, colour-matching software with a spectrophotometer, or a phone-based tool that measures the target and suggests a nearest shade. In each case the recipe names:
- a compatible trichromat (or the dyes needed) for the fibre's dye class, and
- a ratio and depth (% owf) for each dye.
Many labs dye two or three variations at once, bracketing the likely answer.
Step 3: Prepare stock solutions and weigh the swatches
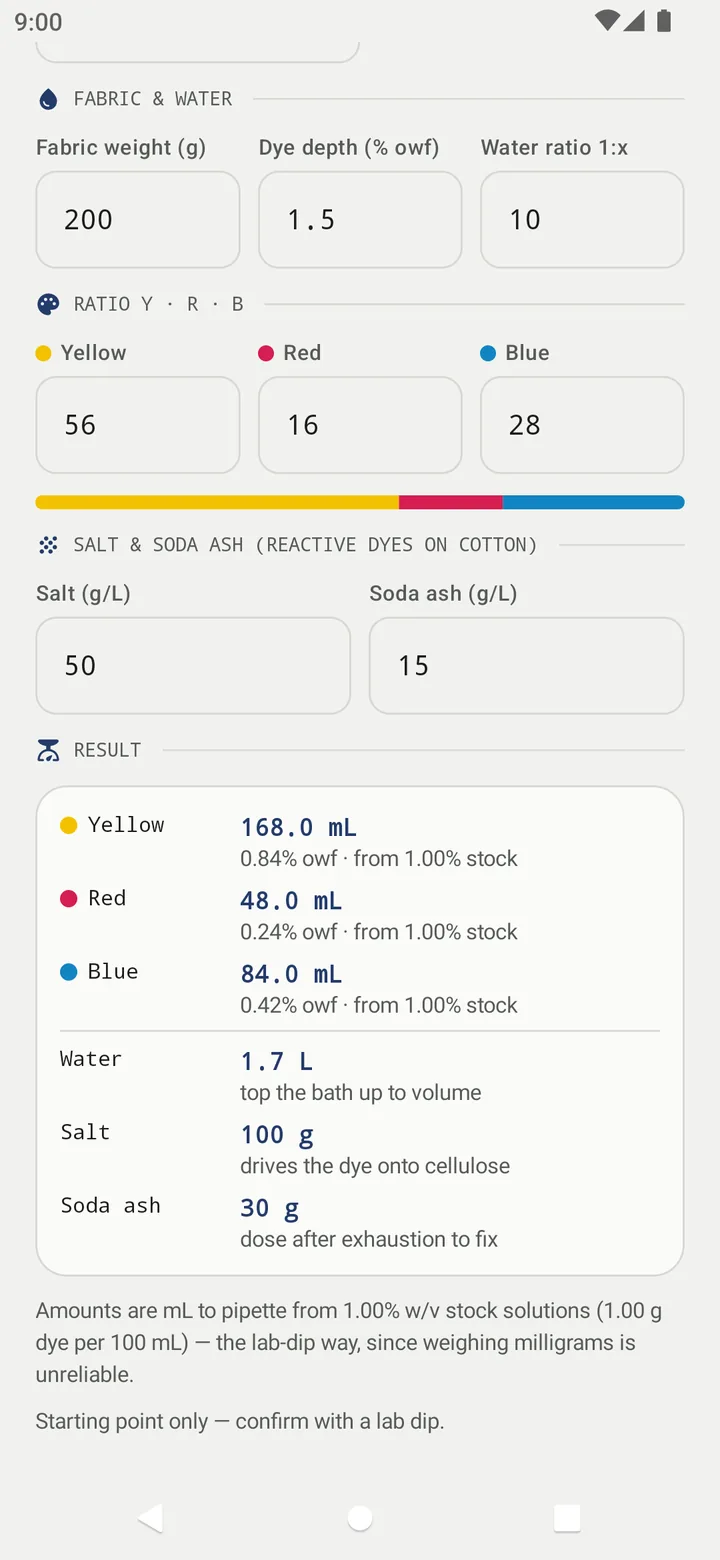
Lab dips use small swatches, often a few grams each. At those sizes a 0.1% owf component is a few milligrams – impossible to weigh accurately. So labs dissolve each dye as a stock solution (for example 1 g of dye in 100 mL) and pipette the required volume. See How to make and use a dye stock solution.
Step 4: Dye under controlled conditions
Dips are dyed in beakers in a laboratory dyeing machine or a controlled water bath, with:
- the same liquor ratio (or a known lab ratio),
- the same temperature profile and times as the bulk process,
- auxiliaries – salt, alkali, levelling agents – dosed as in bulk.
After dyeing, the swatch gets the same wash-off as production (for reactive dyes, soaping to remove hydrolysed dye), then it is dried and allowed to condition.
Step 5: Evaluate the dip
- Visually, next to the standard, in a light booth under the agreed lights. Switching between lights shows whether the dip and the standard stay together (see Metamerism: why lighting changes fabric colour).
- Instrumentally, with a spectrophotometer: ΔE by the agreed formula, plus its components (lightness, chroma, hue) to decide the correction.
Always judge dry, conditioned fabric; wet cloth looks darker.
Step 6: Correct and repeat
If the dip is off, the direction of the difference tells you what to change:
| The dip is… | Typical correction |
|---|---|
| Too light / too deep | Change the total depth (% owf) |
| Too red / too green | Adjust red relative to the others |
| Too yellow / too blue | Adjust yellow or blue |
| Too bright | Add a little of the complement |
| Too dull | Reduce the complement |
Change as little as possible at a time, and record every recipe with its result.
Step 7: Submit and approve
The lab sends the best dip, or several options, to the buyer, usually mounted on a dip card with the recipe reference. The buyer approves one, or returns comments for another round. The approved dip is the physical standard for production.
Step 8: From lab to bulk
Bulk machines differ from lab beakers: different liquor ratios, heating rates, circulation and water. Because salt and alkali are dosed per litre, a change of liquor ratio changes their absolute amounts. Dye houses often run the first bulk batch cautiously and compare it with the approved dip before completing the order.
What to record for every dip
A dip you cannot repeat is only half useful. For each one, note:
- the fabric quality and lot, and how it was prepared,
- each dye's name and lot, and the stock solution's strength and date,
- the recipe: ratio, % owf of each dye, salt, alkali and other auxiliaries in g/L,
- liquor ratio, temperature profile, times and pH,
- the wash-off,
- how it was evaluated: lights, instrument and formula, the ΔE and who judged it,
- the outcome and any correction for the next round.
These records turn individual dips into a recipe history, which is often the fastest route to the first recipe for the next similar shade.
Right first time
Right first time (RFT) is the share of dips (or batches) approved without correction. Every correction round costs time and resources, so labs track RFT and look for patterns: which shades, dye classes or operators need more rounds.
Where Shadecard fits
Shadecard helps with the start and the bookkeeping of the loop:
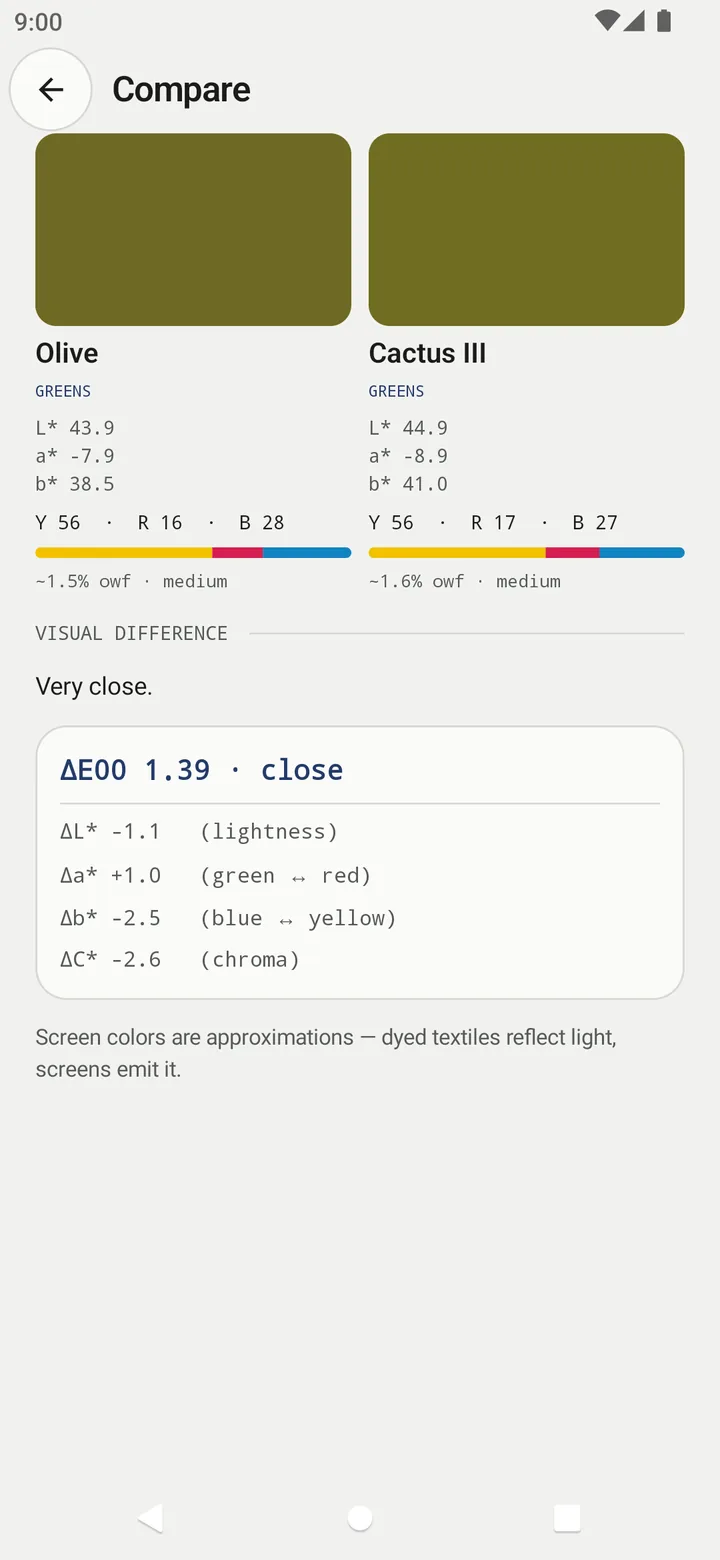
- It measures the target with a phone and a reference card, and suggests the nearest of 13,297 shades with a Y:R:B Starting recipe and a depth – always labelled as a starting point.
- The Stock (mL) mode of the recipe calculator gives the volumes to pipette for your swatch weight.
- In My workspace, Log dip records the outcome (Approved first time, Approved after correction, Rejected), the correction and the process, and the Right first time card tracks your rate over 30 and 90 days.
- After three dips in a dye class and shade family, the app starts adjusting its suggestions to your process; an approved recipe can be promoted to a custom shade.
Step by step: From Shadecard recipe to lab dip. The measurement is still a phone reading, so the visual and instrumental evaluation of the dip remains the referee.
Frequently asked questions
What is a lab dip in textiles?
A small sample of the actual fabric dyed in the laboratory with a trial recipe, to check that it matches the buyer's colour standard before the bulk order is dyed.
How many lab dips does a shade usually take?
It varies with the shade, the dyes and the experience of the lab. Many labs submit two or three options at once so the buyer can choose. Getting it right on the first attempt is the goal.
Why does a lab dip not always match the bulk?
Bulk machines run at different liquor ratios, heating rates and water qualities, and salt and alkali per litre change with the liquor ratio. Recipes often need a small correction when moving from lab to bulk.
What lights should a lab dip be checked under?
The illuminants agreed with the buyer, usually a daylight source such as D65 plus one or two others such as store lighting or incandescent light, in a light booth.
Was this post helpful?