Take your first fabric colour reading, step by step
In short
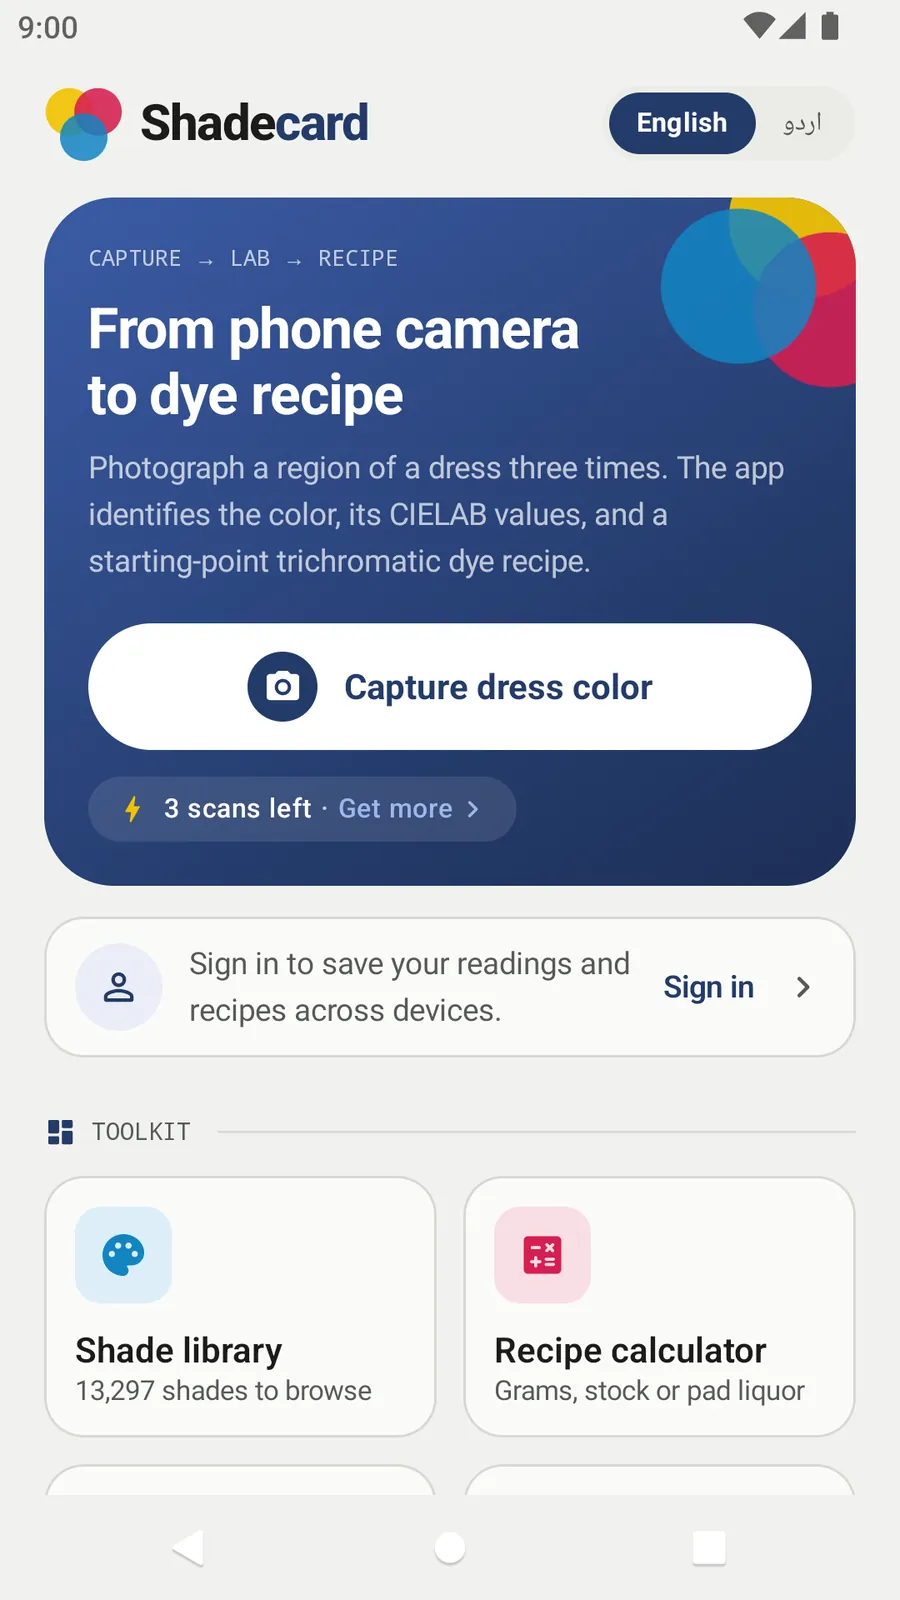
Tap Capture dress color, keep White paper selected, lay the paper in the small dashed box and fill the big box with flat fabric, then tap the shutter once and hold still.
On this page
To take a reading, open Shadecard, tap Capture dress color, keep White paper selected, put a sheet of plain white paper in the small dashed box and plain fabric in the big box, then tap the shutter once and hold still for a couple of seconds. The app takes three photos by itself and opens the result.
Before you start
You need:
- The garment or swatch, laid flat with an area of plain colour (no print, seam or fold).
- A sheet of plain white printer paper. An 18% grey card or a 24-patch colour chart also work – see White paper, grey card or colour chart?.
- Soft daylight, for example near a window but out of direct sun, with one light source only.
The first time you open the capture screen, Android asks for camera access. Shadecard needs it to measure; frames are analysed in memory and not saved to your gallery.
Take the reading
- On the home screen, tap Capture dress color.
- At the top of Capture ×3, check that White paper is selected (it is the default). The line underneath reminds you to lay plain white paper flat in the small box.
- Place the paper so it sits inside the small dashed box marked CARD, touching the fabric and in the same light.
- Move the phone until plain fabric fills the big box marked FABRIC — FILL THE BOX. Hold the phone about 15 cm away and tilt it slightly so the lens does not see its own reflection.
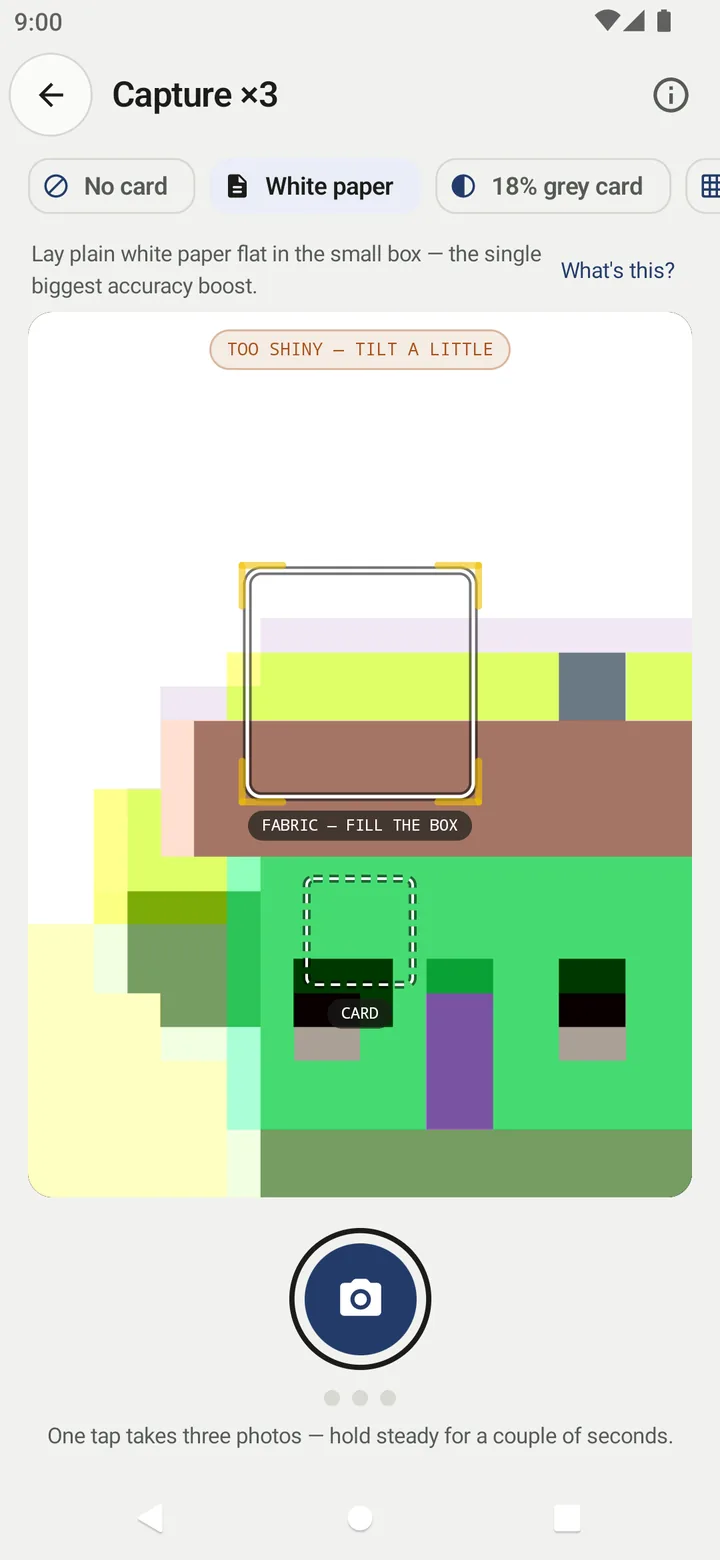
- Watch the pill at the top of the preview. It reads light looks good when the scene is fine, or warns too shiny — tilt a little or shadow on the fabric.
- Tap the round shutter button once. The status shows Setting up the camera…, then Photo 1 of 3 — hold steady up to Photo 3 of 3, then Reading the color…. Keep still until the result opens.
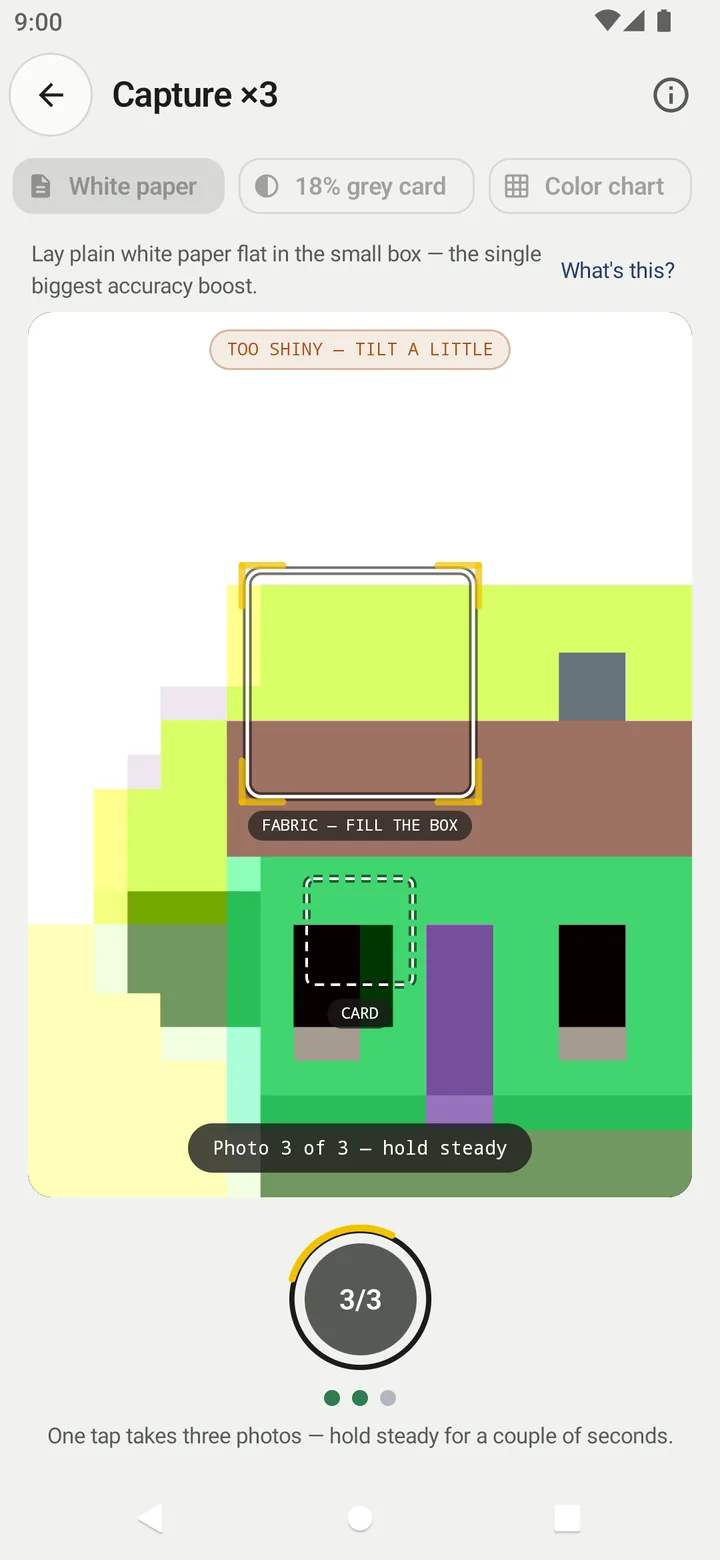
If a dialog titled Couldn't get a clean reading appears, nothing is wrong with the app: it has spotted moving light, glare or an overexposed card. Tap Retake and follow the advice it names. See Fix a rejected capture.
Not sure where the paper goes?
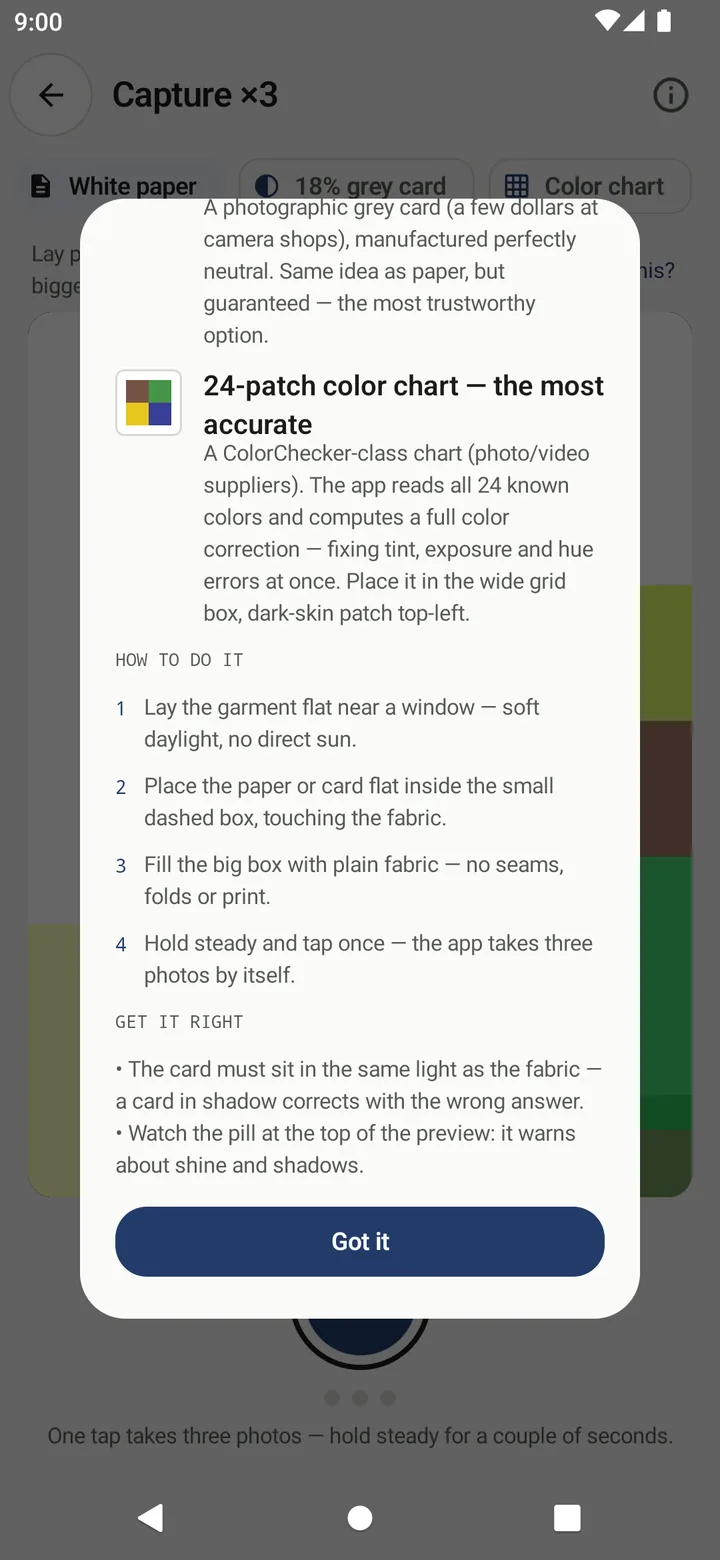
Tap What's this? next to the reference line. The sheet that opens explains each reference option and ends with HOW TO DO IT: lay the garment near a window, put the paper or card in the small dashed box touching the fabric, fill the big box with plain fabric, then hold steady and tap once.
What you get
The result screen shows your fabric next to the matched shade, how close the match is (ΔE00), the capture quality, and a Starting recipe with a Y · R · B ratio and a suggested depth in % owf. Choose your fibre under Fiber & dye type, then tap Work out the amounts to open the calculator with the recipe filled in.
Everything on that screen is explained in Read your result.
Your first three scans
A new install has three free scans, shown as 3 scans left on the home screen. One scan is used each time a fresh capture produces a result. More about scans in Android app, website and scan packs.
Frequently asked questions
Why does the app take three photos?
Averaging three frames reduces camera noise, and comparing them shows whether the light or your hand moved. Their disagreement is reported as the spread, the reading's error bar.
Do I need a grey card for my first reading?
No. Plain white printer paper is the default reference and unlocks the full result: shade plus recipe. A grey card or colour chart can give a more reliable correction.
Does a rejected capture use up one of my scans?
No. A scan is only counted when a fresh capture produces a result. Rejected captures and the torch light check do not count.
How far should I hold the phone from the fabric?
The app's blur warning suggests about 15 cm. Hold it slightly tilted (about 30–45°) so the lens does not catch its own reflection.
Was this article helpful?
Related articles
- Shadecard explained: what it does and who it is forShadecard measures a fabric's colour with a phone camera, matches it to a library of 13,297 shades and gives a yellow:red:blue starting recipe to confirm with a lab dip.
- Android app, website and scan packs: what runs whereMeasuring happens in the Shadecard Android app. sc.abdohoo.app is the product website with a live demo. A new install has 3 free scans; scan packs come through Google Play.
- Couldn't get a clean reading: fix a rejected captureA rejection names the guard that failed: photos that disagree, persistent glare, an overexposed card or an unreadable chart. Fix that one thing and tap Retake; no scan is used.
- Lighting and framing for a good colour readingUse soft indirect daylight from one source, lay the fabric flat, fill the big box with plain cloth, tilt the phone about 30–45° and keep the reference card in the same light.
Need a hand?
Email us what you see on screen — a screenshot helps — and we'll walk you through it.